
Amaryllis Care
Amaryllis Care Guide: How to Grow for Blooms Indoors and Outdoors
Amaryllis are treasured for their ability to produce large, vibrant flowers indoors during the coldest months of winter. Their low-maintenance care and potential for reblooming make them a favorite among indoor gardeners. Follow this guide to enjoy the beauty of amaryllis year after year indoors, or to transition them outdoors to enjoy in your garden here in Columbia.
Amaryllis Cape Horn
Choosing Your Amaryllis Bulbs
Look for firm, unblemished bulbs, similar to how you would choose an onion. Larger bulbs produce more stems and flowers. For a more impressive display, choose the largest bulbs you can find. The flowers are already formed in the bulb when you receive them, so larger bulbs will have more and larger flowers.
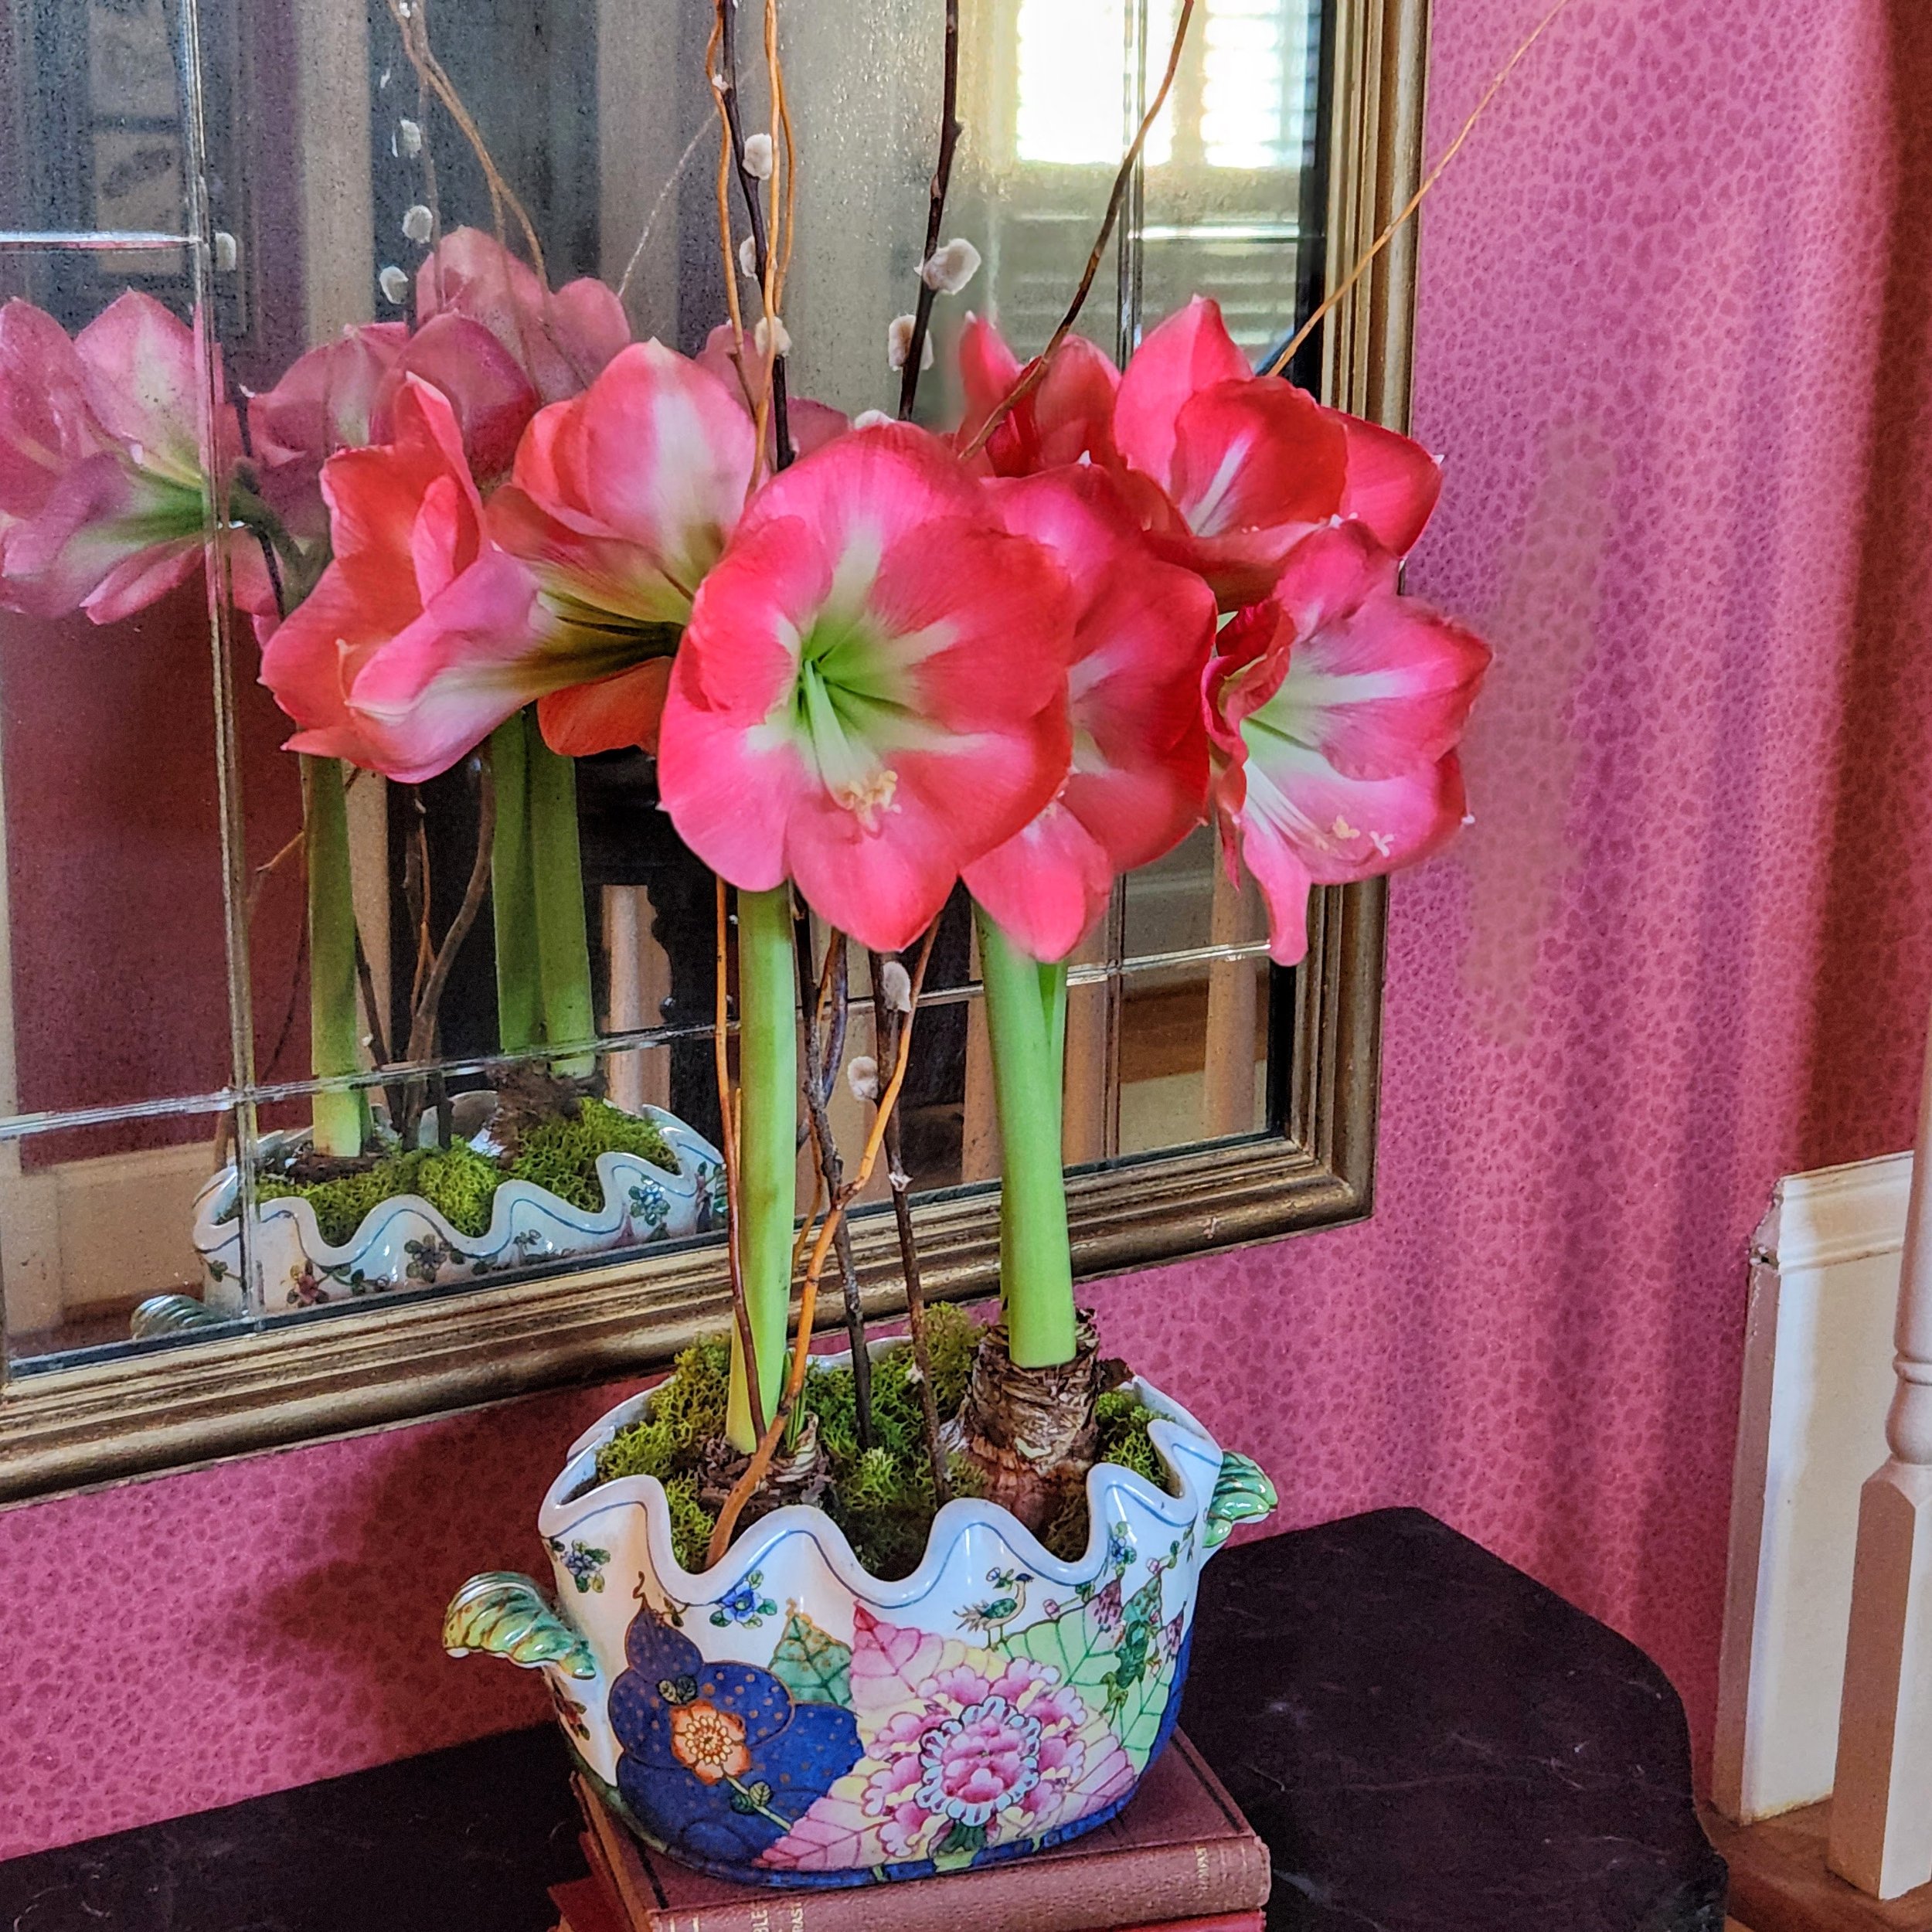
While red and white varieties are the most common, amaryllis is also available in shades of pink, burgundy, orange, yellow, and even green.
Select bulbs from the southern hemisphere (sometimes referred to as “Christmas Blooming”) if you want them to bloom for the holidays, or as fast as possible (4-6 weeks). Bulbs from the northern hemisphere (sometimes called “shelf stable”) will bloom after the holidays, since they are going to take longer to acclimate to the warmth of your home. Typically, these take 6-10 weeks to bloom and are wonderful to have in bloom in January and February,
How to Grow Amaryllis Indoors
Preparing Your Amaryllis Bulb
Wake the Bulb: Soak the roots in warm water for about an hour, then allow them to drain completely.
Planting: Use well-draining potting soil and pot the bulb, leaving about one-third of the bulb above the soil surface.
Initial Watering: Thoroughly soak the soil with warm water after planting, then refrain from watering until green shoots appear.
Placement: Keep the pot in a warm, dark spot (70-75°F) for two weeks to encourage root development.
Pro Tip: If your bulb has already started sprouting, don’t worry. The stem will naturally straighten as it grows.
Encouraging Blooms
Move to Light: Once roots are established, place the pot in a bright, warm location (70-80°F). A sunny windowsill or a spot near a heat source works well.
Watering: Water only when the top inch of soil feels dry. Avoid overwatering, as this can lead to bulb rot.
Patience is Key: Growth may take several weeks. Keep the pot warm and avoid excessive watering.
Rotate for Even Growth: When the stem begins to emerge, rotate the pot daily to ensure the stalk grows straight.
Caring During the Bloom period
Prolong Blooms: Once the flowers open, move the pot out of direct sunlight to extend bloom time.
Deadhead Regularly: Remove fading flowers by cutting them near the base of the stalk. This can encourage additional blooms.
Trim Spent Stalks: After all flowers have faded, cut the stem back to about 2 inches above the bulb. Leave green leaves intact to nourish the bulb for next season.
How to Save Amaryllis Bulbs for Reblooming Indoors
Post-Bloom Care: Place the pot in a bright location and continue watering when the top inch of soil feels dry. Fertilize monthly.
Summer Outdoors: Two weeks after the last frost (mid-April in Columbia), move the pot outside to a sunny or partially shaded area to promote leaf growth and strengthen the bulb.
Fall Dormancy Preparation:
In early fall, cut the foliage just above the bulb.
Bring the pot indoors and place it in a cool, dark location (50-60°F) for 8-10 weeks.
Do not water during the dormancy period.
Restart Growth: After the dormancy period, follow the initial growth steps to encourage blooming once again.
Note: Amaryllis bulbs thrive when slightly pot-bound. Repotting every year is not necessary, allowing for easy long-term care.
By following these steps, you can enjoy beautiful amaryllis blooms during the winter months and cultivate healthy bulbs that rebloom season after season.
Growing Amaryllis Outdoors
Amaryllis also makes an excellent garden plant and is cold hardy in South Carolina through USDA planting Zone 8. This means Amaryllis grown indoors during the holiday season can be moved outdoors in the spring after the threat of frost has passed, generally around mid-April. Gradually acclimate the indoor plants to brighter light by moving them to a porch or patio area before planting them in the garden.

find the right location
Amaryllis, like all bulbs, need soil that drains well. A raised bed may be necessary to ensure good drainage if your soil has a lot of clay in it. A soil rich in organic matter will provide the best growth, so add compost if your soil is lean like ours. Plant bulbs directly into the ground, spaced about a foot apart. Plant with half the bulb tip above ground, leaving the tops barely covered with soil.
Select a sunny spot in the garden that receives afternoon shade. Avoid placing the bulb where it will dry out excessively. Apply mulch, especially during the fall and winter months. Leaves work well for this.
Fertilize
Fertilization determines the size and quality of the flowers and foliage. For garden plantings, fertilizers containing low nitrogen, such as 5-10-10 or 6-12-12 analysis should be used. Use quantities as defined on the fertilizer bag. Make the first fertilizer application as new growth begins, then repeat the application when the flower stalk is 6 to 8 inches tall, before blooming. Do not feed while the plant is in bloom. Apply a third application immediately after flowering. Remove spend stalks/blooms but keep the leaves on the plant.
Amaryllis grown outdoors are deer resistant. They will grow lush foliage outdoors over the summer, storing energy for future blooms.
A Versatile Bloom for Every Season
Whether you’re decorating your home for winter, planning thoughtful gifts, or adding beauty to your garden, amaryllis is a wonderful choice. With its vibrant colors and easy care, it’s a simple way to brighten any space.
We carry amaryllis bulbs each year starting in early November. You can find our selections at this link : https://www.purpletuteur.com/garden-bulbs